Featured Post

Maintaining Your New California Garden: Life-friendly Fall Pruning

  Mother Nature's Backyard in November: illustrating life-friendly fall pruning. Late fall and early winter are important prun...

Monday, January 30, 2012

Water infiltration features: french drain is almost completed - 1/28/12

We got over 1 inch of rain from 1/21 to 1/23/12,  so the garden site was pretty muddy for a few days.   The french drain is pretty much installed (see pictures below).  The hard part was getting the trench dug.  Thank heavens Steve and Cheral Sherman helped with the digging.   There is a lot of debris in the soil.

Trench for french drain near the back wall

After the trench was dug and leveled (a very slight angle to promote drainage along the drain) we lined the trench with landscape cloth to prevent soil and tree roots from invading the drainage pipe.   Then we filled the bottom of the lined trench with a 3" layer of gravel to promote water infiltration.   Finally, we slipped a protective 'sleeve' over the perforated pipe and placed the pipe in the trench - drainage holes down.


Perforated pipe in lined trench

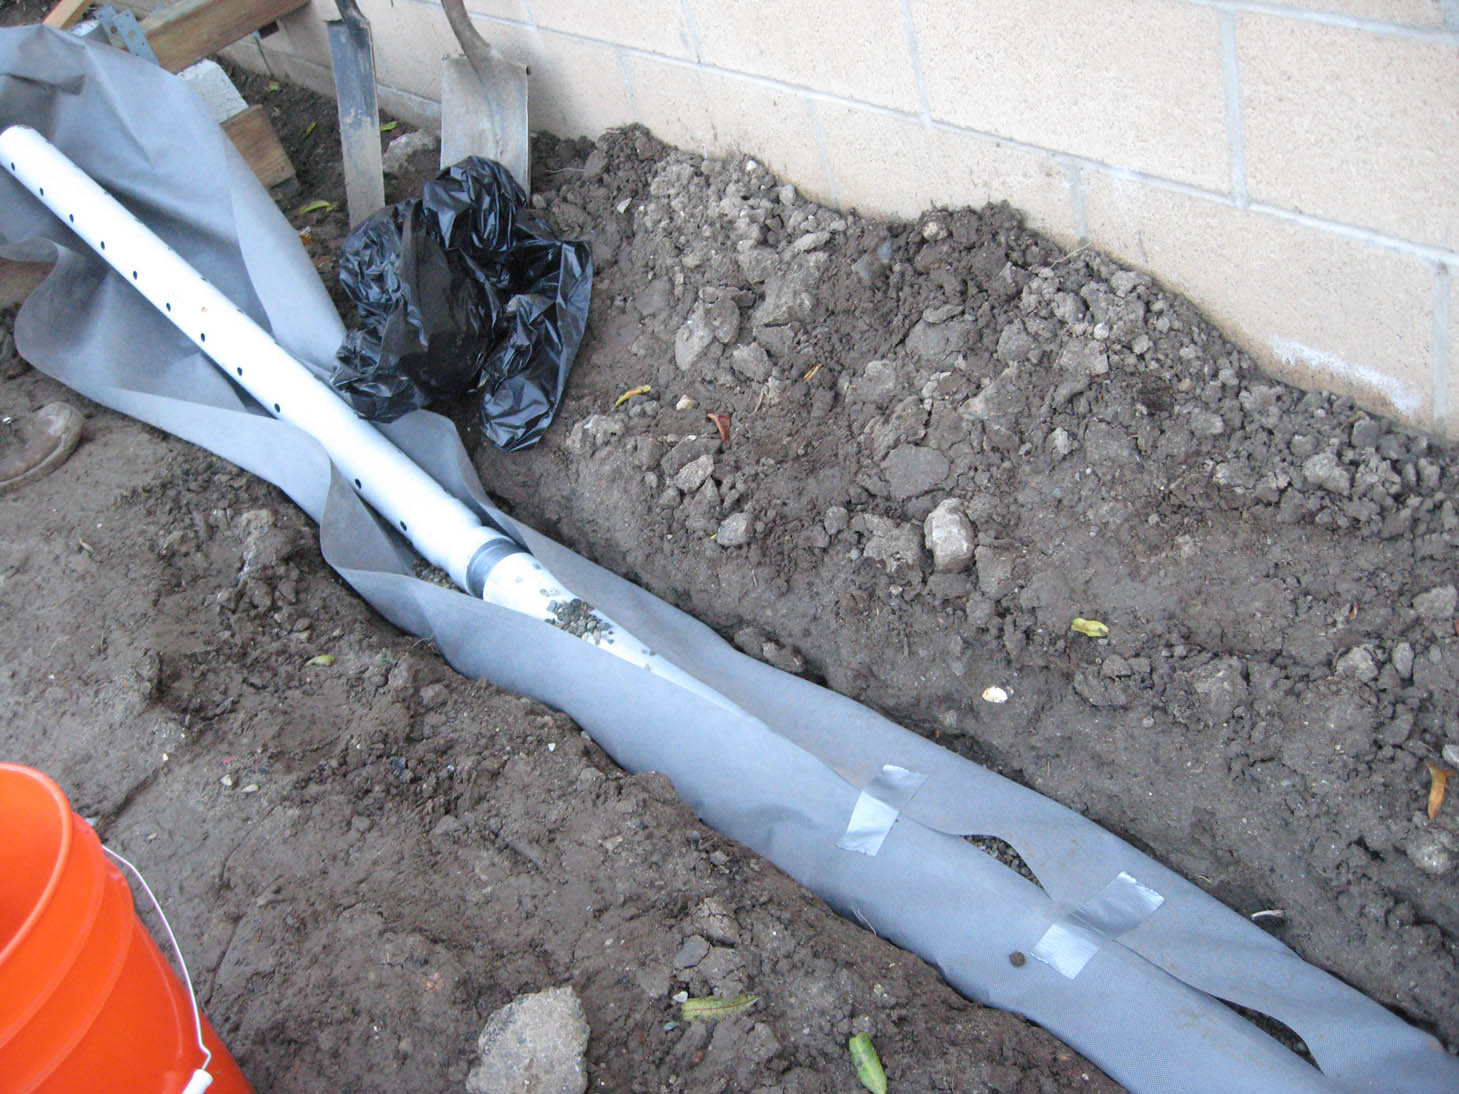
Folding the landscape cloth around the pipe and taping

Kelley installs the pipe that will connect to the rain barrel overflow

All that's left is to fill in the trench with soil and connect to the rain barrel


4 comments:

  1. Nice post. Really enjoyed reading it from start to finish. Please visit my "water pipe lining" page if you have time and leave comments.

    ReplyDelete
  2. Excellent ! This is a nice post. You know exactly what you're talking about, exactly where other people are coming .Thanks 
    burst pipe Cayman Islands

    ReplyDelete
  3. I bet you'll be excited when it's finally completed!

    ReplyDelete