Featured Post

Maintaining Your New California Garden: Life-friendly Fall Pruning

  Mother Nature's Backyard in November: illustrating life-friendly fall pruning. Late fall and early winter are important prun...

Monday, January 30, 2012

Water infiltration features: the rain garden is almost ready to plant

A rain garden is a rainwater infiltration device.  It's sort of like a leaky pond: the water is held in the rain garden for a few hours until it can infiltrate into the soil.  Rain gardens are often placed near gutter downspouts (like ours in Mother Nature's Backyard) or next to sidewalks or driveways to catch the runoff. 


We've been so fortunate that community volunteer John Moore has helped us do some major earth moving with his front end loader.

Leveling the site - January
 
John Moore and Kelley discuss site leveling


John did the initial digging for the rain garden - lots easier than doing it by hand!   Then we finished the digging with picks and shovels.  Fortunately, the rain garden is located in a sandy part of the site.  This will help speed the infilatration of water into the soil.


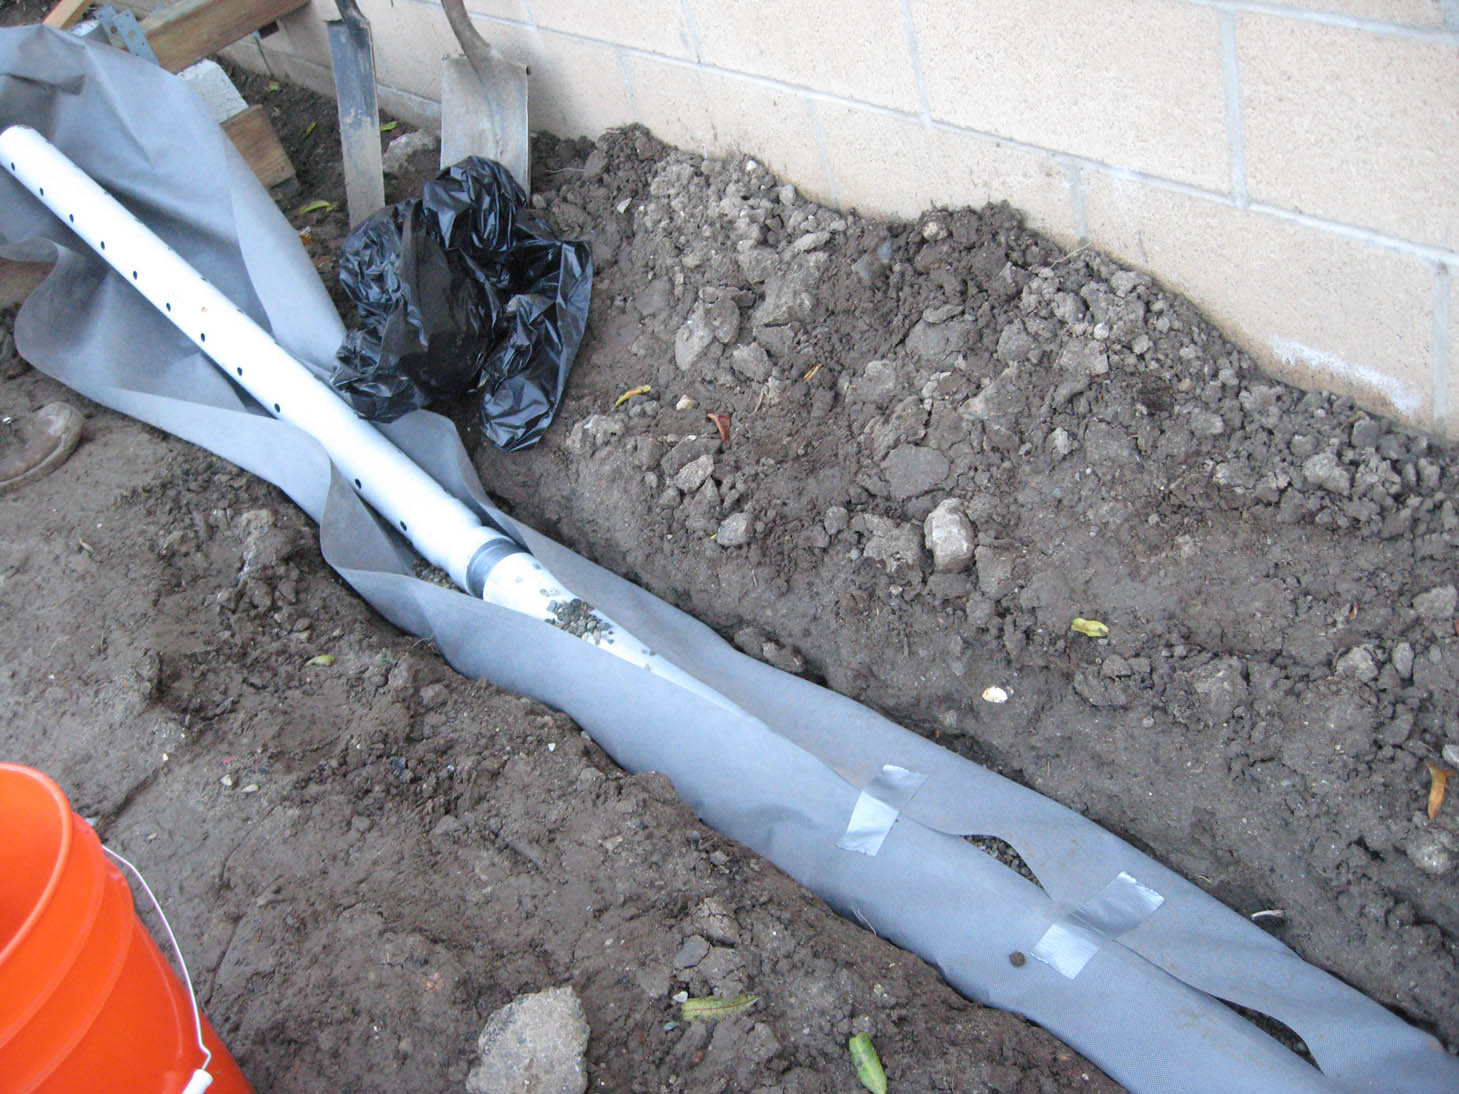
When the water garden was deep enough to accommodate our roof runoff we filled the hole with gravel, then covered the gravel with a layer of soil.  We'll complete the filling after the path is laid.  Then we'll be ready to plant our rain garden with plants that like a little winter flooding.


Measuring size and depth

Gravel layer - 12-20 inches


Andy Dawdy smooths out the gravel


Rain garden re-filled with soil.  We'll add more fill, place some rocks and smooth the sides once the walkway is completed


Water infiltration features: french drain is almost completed - 1/28/12

We got over 1 inch of rain from 1/21 to 1/23/12,  so the garden site was pretty muddy for a few days.   The french drain is pretty much installed (see pictures below).  The hard part was getting the trench dug.  Thank heavens Steve and Cheral Sherman helped with the digging.   There is a lot of debris in the soil.

Trench for french drain near the back wall

After the trench was dug and leveled (a very slight angle to promote drainage along the drain) we lined the trench with landscape cloth to prevent soil and tree roots from invading the drainage pipe.   Then we filled the bottom of the lined trench with a 3" layer of gravel to promote water infiltration.   Finally, we slipped a protective 'sleeve' over the perforated pipe and placed the pipe in the trench - drainage holes down.


Perforated pipe in lined trench

Folding the landscape cloth around the pipe and taping

Kelley installs the pipe that will connect to the rain barrel overflow

All that's left is to fill in the trench with soil and connect to the rain barrel


Progress on the roof and 'porch/deck' - January

Mother Nature's Backyard is slowly taking shape.  The Friends of Gardena Willows (and helpers) have been working on priming and painting the support columns and building the back porch.


Jim Roth works on priming

We got columns painted before the rains

The deck is ready for Trex on Sat. 1/28

Friday, January 13, 2012

Finally, the Concrete is Poured - January 12, 2012

We've eagerly awaited pouring concrete.  


Preparing Foundations and Supports - December, 2011

Our garden will look like a real backyard, complete with a back porch.  Construction began with digging trenches for the foundation and the metal posts that will support the roof.


trench for foundation - December, 2011


Next we placed, leveled and braced the metal posts.  As you can see, this took a few volunteers with strong backs and construction experience. 


Those railroad ties are heavy!

Did Kelley get those measurements right?

Jim & Kelley secure the top bracing


Finally, we build forms for the foundation of the 'back wall' of the 'house'

Making the foundation forms - Rob & Kelley supervise


Just about ready for concrete


Close-up of forms and posts

Before The Garden: October 2011

Here is what the garden area looked like before we began installation:


We did some soil testing before installation.  We needed to dig several test trenches because the soil composition varied through the site. 


As seen below, the soil is primarily clay, but appears to drain adequately in most places.


We also removed excess soil.